
OVERVIEW
This is a small, compact ruler display tool in an svg container using plain javascript. Its less than 200 lines of code and can be used in any browser or platform. The purpose is to display a horizontal and/or vertical ruler along the edges of a svg container to show measurements of various objects which are within the svg container.
The code is available on github here: https://github.com/amitonline/true-ruler
You are free to use/modify it as required.
SCREENSHOTS
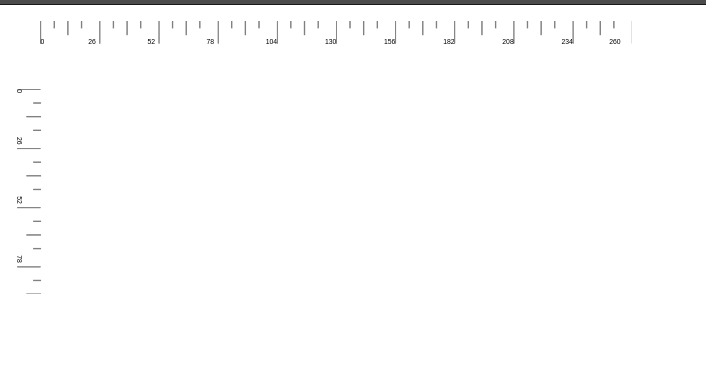
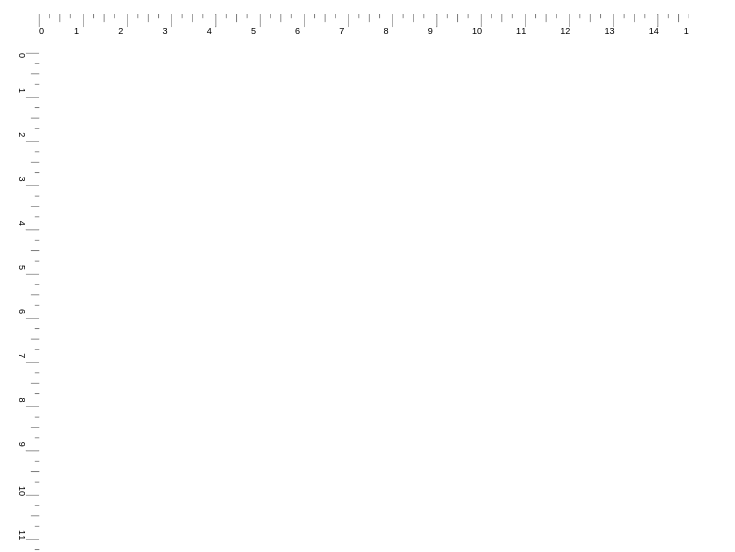
USAGE
In HTML, you need an svg container with two group items – grpLeft for the left vertical ruler and grpTop for the top, horizontal ruler. You need to have these two groups in place even if you intend to use only one of the rulers. The transform attributes are also required to be present.
<svg id="svgElem" xmlns="http://www.w3.org/2000/svg" viewBox="0 0 320 120">
	<g id="grpTop" transform="translate(60,0)"></g>
	<g id="grpLeft" transform="translate(60,0)"></g>
</svg>
In Javascript, a single constructor will render the ruler with default arguments, But most of the times, you will want to modify various aspects. The constructor takes in the following arguments:
- svgElem – the svg container id
- inches – true to display ruler in inches, false to display in pixels. Default=false
- vertical – if false then the ruler will be horizontal across the x-axis at the top . If true, then vertical across the y-axis in the left. Default=false
- pw – pixel width of the svg container in pixels. Use the same width as defined in the viewBox. Default=100
- ph – pixel height of the svg container in pixels. Use the same height as defined in the viewBox. Default=100
- vw – virtual width of the svg container in pixels. In case you want to render the ruler for a different width than the actual width. Default=100
- vh – virtual height of the svg container in pixels. In case you want to render the ruler for a different height than the actual height. Default=100
- hdiv – number of divisions to divide the ruler into. Default=10
- hdivsmall – number of sub-divisions between two divisions. Default=10
So the minimal function call can be:
var ruler = new TrueRuler("svgBox");
This will render the ruler horizontally in svgBox with default values.. But a more realistic call could be:
var ruler = new TrueRuler("svgElem", false, false, 260,160,260,160);
It is important that the pw and ph arguments match the width and height of the viewBox.
The code below shows an actual implementation of a horizontal ruler.
ruleHoriz = new TrueRuler("svgElem", false, false, 260,160,260,160);
		ruleHoriz.setDivisions(10);
		ruleHoriz.setDivisionsSmall(4);
		ruleHoriz.setDivisionHeightWidth(10,0.2);
		ruleHoriz.setDivisionSmallHeightWidthMid(3,0.1,6);
		ruleHoriz.setTextYOffset(10);
		ruleHoriz.init();
		ruleHoriz.render();
Any time you change any parameter, you should call init() and render() so that the changes can be updated in the ruler.
STYLING
Use of CSS has been kept to a minimum. There is a single class called .svg_label_text which is used to style the text labels. This is generally defined in the parent html or web page.
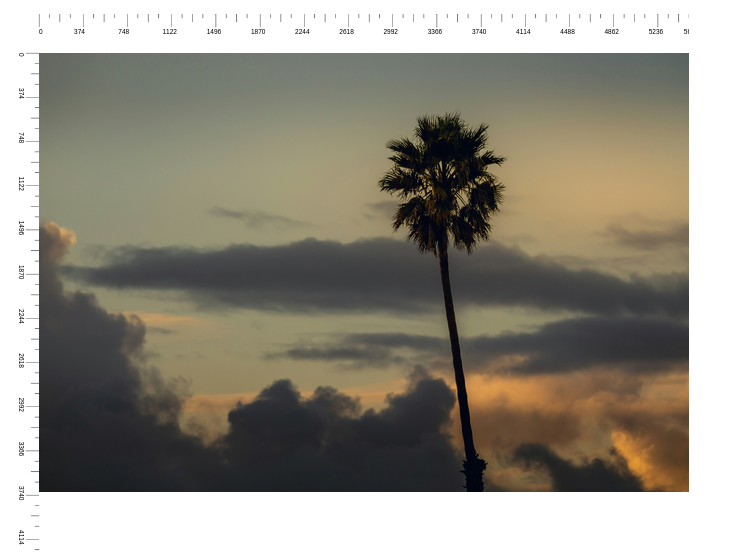
IMPORTANCE OF KEEPING A TOP AND LEFT MARGIN
In the svg tag, you will see that the two group elements left a space of 60 pixels from the left. This is needed, otherwise the rulers would overlap at the top left origin (0,0) and any other svg element added to the svg container would also overlap the rulers. As you can see in the above screenshot with the image, the image starts just after the rulers, but yet starts at 0,0. This makes the measurement realistic.
You will find the example code for this in the github repo. https://github.com/amitonline/true-ruler
Leave a Reply